
In code writing, it seems like there's hardly any code that is completely free from issues, and every webmaster surely doesn't want any bugs on their website or plugins.
Here, we will demonstrate how to debug WordPress using WP DEBUG and other methods to help you identify the issues that are occurring."
Friendly and Informative Rewrite: "When it comes to writing code, it's pretty common to encounter some issues, and every webmaster wants to keep their website and plugins bug-free.
In this guide, we'll show you how to debug WordPress using WP DEBUG and other methods, making it easier for you to identify and fix any issues that might pop up.
What is Debugging?
Debugging, or debug, is the process of identifying and eliminating bugs or errors in your code. The process concludes by testing the corrected code to ensure the issues no longer occur.
This task is typically undertaken by developers using debugging tools and has become a routine procedure in the software development phase.
Debugging processes can be executed using strategies like unit testing, code reviews, and pair programming.
So, before code or software is released to users, developers try to find, isolate, and fix any issues.
Fixing code can sometimes be a challenging process, taking longer than writing the code itself.
What is WP DEBUG?
WP DEBUG is a constant that triggers the "debug" mode in WordPress, and you can find it in the wp-config.php file. Its log can record all activities on your site and help troubleshoot arising issues.
Although disabled by default, you can perform many important tasks with this mode when activated.
- This mode provides information on reproducing issues. Through the log file, all activities on your site are recorded, which can later aid in resolving problems.
- WP DEBUG will display deprecated functions in WordPress plugin/theme releases. These notifications usually suggest alternative options you can use.
- This mode is also useful when creating themes or plugins. The WordPress Codex strongly recommends every developer use WP DEBUG when creating products so that if there are issues or warnings, other developers can investigate and fix the code. If not compatible with WP DEBUG, WordPress tool libraries will not support your plugin or theme.
Practical Use of WP DEBUG
Now that we understand what WP DEBUG is, let's explore how to practically use it.
WP_DEBUG
You'll find WP_DEBUG in the wp-config.php file, and its default setting is "false." If you want to turn it on, simply switch it to "true." It's that easy!
If you can't find that code in the wp-config.php file, feel free to add it above the line /* That’s all, stop editing! Happy blogging. */.
Just a friendly reminder: Avoid turning on debugging for a website that's already live because this mode is specifically crafted for development purposes.
WP_DEBUG_LOG
Activate WP_DEBUG_LOG, and you can store all errors neatly in the debug.log file. This nifty feature collaborates with WP_DEBUG, making it easier to recreate issues for troubleshooting.
To turn it on, simply open your wp-config.php file and insert the following line below define( 'WP_DEBUG', true );.
define('WP_DEBUG_LOG', true);
After this function is activated, the debug.log file will automatically be saved in the /wp-content/ folder on your website. You can directly view this file in your browser.
WP_DEBUG_DISPLAY
To keep error messages from showing up on your website, it's important to turn off WP_DEBUG_DISPLAY.
Normally, any errors that pop up get logged and shown in your HTML code by default. Unlike WP_DEBUG, the default value of this function is "true," and you'll need to switch it to "false" to keep all errors hidden.
If you can't find this function, no worries! Just add the following line directly at the end of your wp-config.php file, right below the line define('WP_DEBUG', true);
define('WP_DEBUG_DISPLAY', false);
All of these functions—WP_DEBUG, WP_DEBUG_LOG, and WP_DEBUG_DISPLAY—can be used simultaneously to enable debugging, save log files, and hide all errors.
6 Other Methods for Debugging WordPress
The right tools can truly help you tackle any issues that arise. In addition to using WP DEBUG, as we explained earlier, there are also several other ways you can address errors on your WordPress site.
1. Turn On WPDP Error Reporting
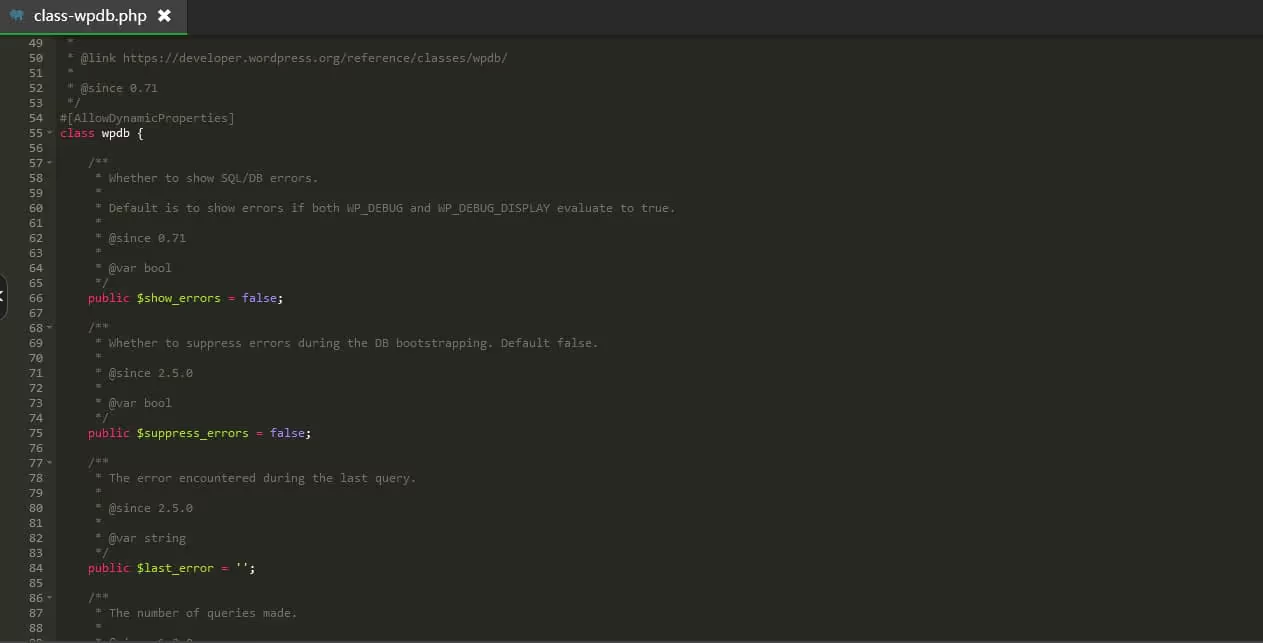
For spotting database-related issues, switch on WPDP error reporting. The global $wpdb object comes with a handy variable called $show_errors. If you set it to true, you can ask WordPress to show SQL errors for specific queries. To activate this feature, head over to /wwwroot/sitefolder/wp-includes/class-wpdb.php and open the file. Look for the wpdb class, and simply change the $show_errors variable to true.
2. Check Website Error Logs
Sometimes, you might encounter server interval error pages while browsing a site. To address this issue, you can review the website error logs.
Examining common logs can help both novice and expert developers identify website issues.
Afterward, you can use a Google search to find solutions.
3. Optimize Code Safely with WordPress Staging Environment
To reduce bugs on your WordPress site, try applying code changes initially on a staging site.
A staging site is essentially a clone of your live website, hosted on your personal subdomain. It acts as a development playground for any code tweaks you want to introduce to your live site.
This environment stays hidden from visitors and search engines, allowing you to fine-tune, align, and test changes without any concerns about impacting your live public site.
4. Enable SCRIPT_DEBUG
WordPress usually employs minimized versions of CSS and JavaScript files to make your site load faster. However, this can be tricky because errors in your scripts or plugins might go unnoticed.
To tweak how scripts operate, WordPress gives us a handy constant to add to the wp-config.php file:
define( 'SCRIPT_DEBUG', true );
If set to true, WordPress will automatically load the uncompressed versions of CSS and JavaScript files, ensuring that all plugins use their full versions.
5. Spotting PHP Errors Early On
Getting a jump on PHP errors in your scripts is easy with phpinfo. This file serves up details about your current PHP setup, covering compilation options, extensions, version details, environment specifics, OS version, HTTP headers, and even licensing.
To get this rolling, you can tweak the php.ini file to flip on error reporting. Keep in mind, though, that this option might be disabled on certain hosting services, including shared hosting packages like Hostinger's.
If that's the case, no worries! You can turn to a PHP code checker for direct assistance in pinpointing issues in your code. For a more thorough review, consider using IDEs like Eclipse or PHPStorm.
6. Leverage Multiple Debugging Tools
For hassle-free WordPress debugging, you can also make use of various plugins.
1. Query Monitor
This plugin is a go-to tool for developers in WordPress. It provides a panel where you can activate database queries, spot PHP errors, track HTTP API calls, manage hooks & actions, disable the block editor, queue scripts & stylesheets, and a lot more.
Or, if you prefer, you can also explore Debug Bar and Simply Show Hooks for debugging your WordPress site. Keep in mind, though, that these plugins might have compatibility hiccups with the latest WordPress version.
2. New Relic
For more advanced debugging, you can utilize premium tools like New Relic. This application aids in monitoring user experience, mapping the WordPress architecture, analyzing and enhancing site performance, and detecting anomalies before they occur.
All these features contribute to gathering data for troubleshooting, ensuring you can provide the best experience for your visitors. New Relic offers a 14-day free trial for you to explore its capabilities.
Conclusion
As a WordPress site owner and developer, there are numerous benefits to understanding the usage of WP DEBUG. You can use it to activate debug mode and either save or hide all errors for better website development. The process is actually quite straightforward.
Here's a quick summary for using WP_DEBUG, WP_DEBUG_LOG, and WP_DEBUG_DISPLAY:
- WP_DEBUG: Find the wp-config.php file and set define( 'WP_DEBUG', false ); to true.
- WP_DEBUG_LOG: Add define('WP_DEBUG_LOG', true); below the line define('WP_DEBUG', true);.
- WP_DEBUG_DISPLAY: Insert define('WP_DEBUG_DISPLAY', false); below the line define('WP_DEBUG', true);.
Additionally, as a developer, it's crucial to identify and address issues before adding any code/plugin to users. As a webmaster, you can also use debugging tools to identify the root causes of performance issues on your website.
Beyond using WP DEBUG for debugging your WordPress site, consider taking the following steps:
- Enable WPDP Error Reporting
- Check Website Error Logs
- Use WordPress Staging Environment when Tweaking Code
- Enable SCRIPT_DEBUG
- Detect PHP Errors
- Use Debugging Tools like Query Monitor or New Relic
Good luck! May you successfully debug your WordPress site and reduce issues to provide a seamless experience for your visitors.
If you still have questions, feel free to share your comments below!